What the Jira integration enables
| Capability | Description |
|---|---|
| Automation workflows | Streamline issue creation, status updates, project management tasks, and user access management |
| Ticket Syncing | Sync tickets between Serval and Jira |
Jira Configuration
Connecting Jira to Serval is straightforward and requires no manual configuration on the Jira side. The integration uses OAuth to securely connect your Jira instance with Serval.Prerequisites
- You must have admin permissions in your Jira instance
- Access to install apps in your Jira workspace
Serval Configuration
- In Serval go to Apps → Available → Jira → Connect
- Click the Connect button to initiate the OAuth flow
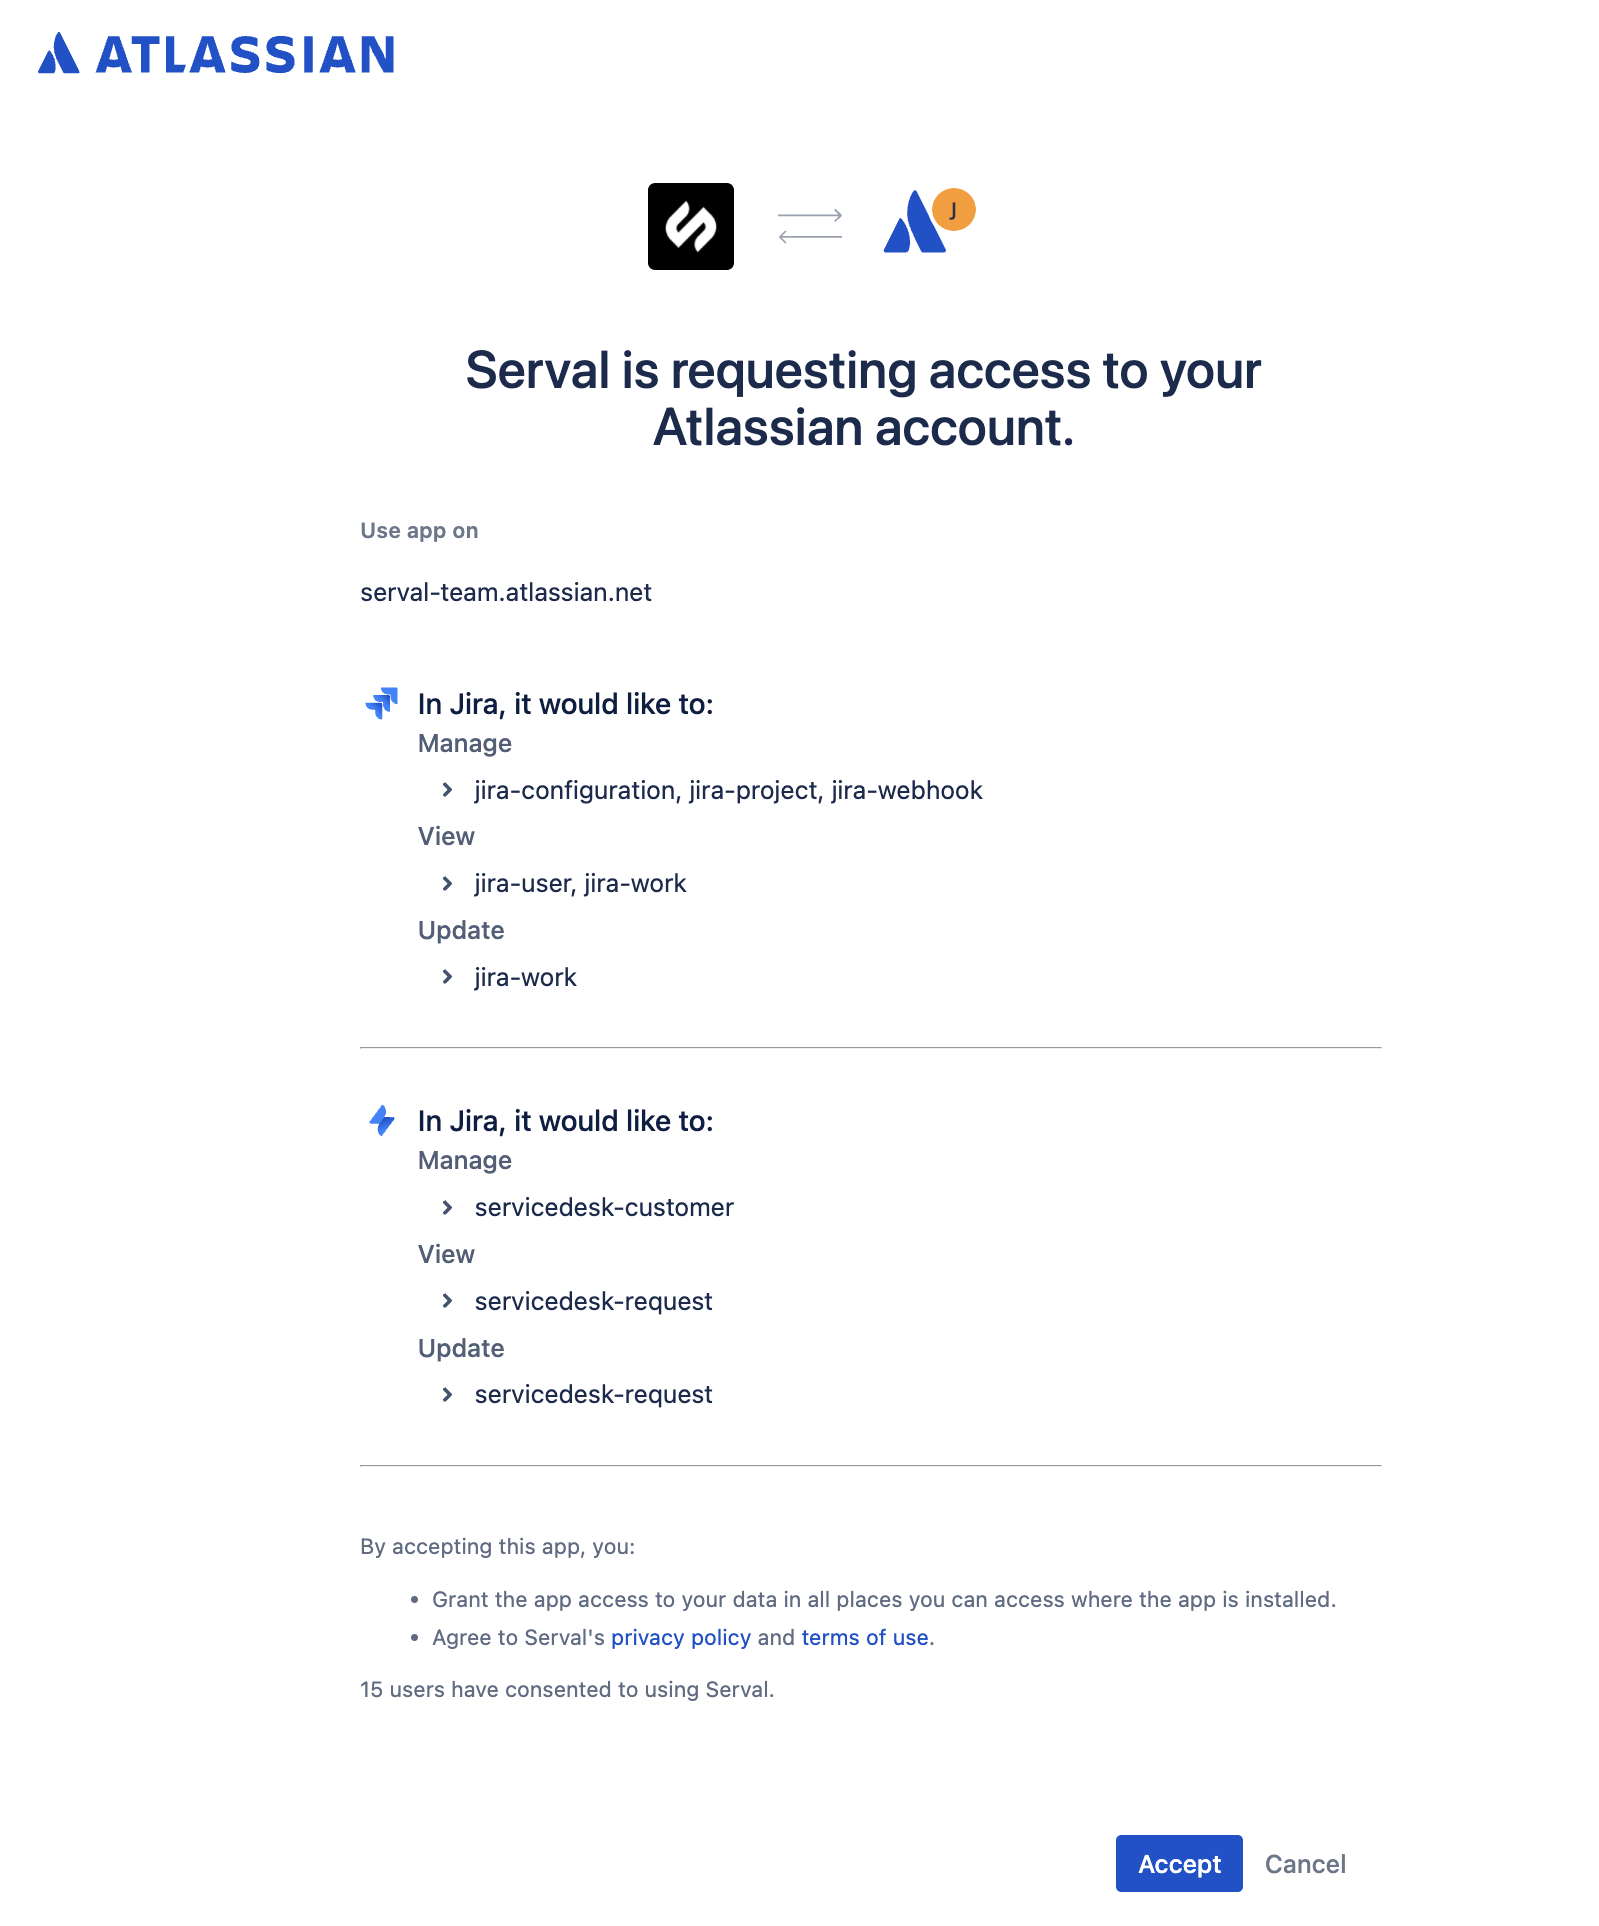
- A new window will open directing you to your Jira instance

- Review and accept the integration permissions and scopes
- Click Accept to complete the connection
- You’ll be redirected back to Serval with the integration successfully connected
Additional Notes
Ticket Syncing
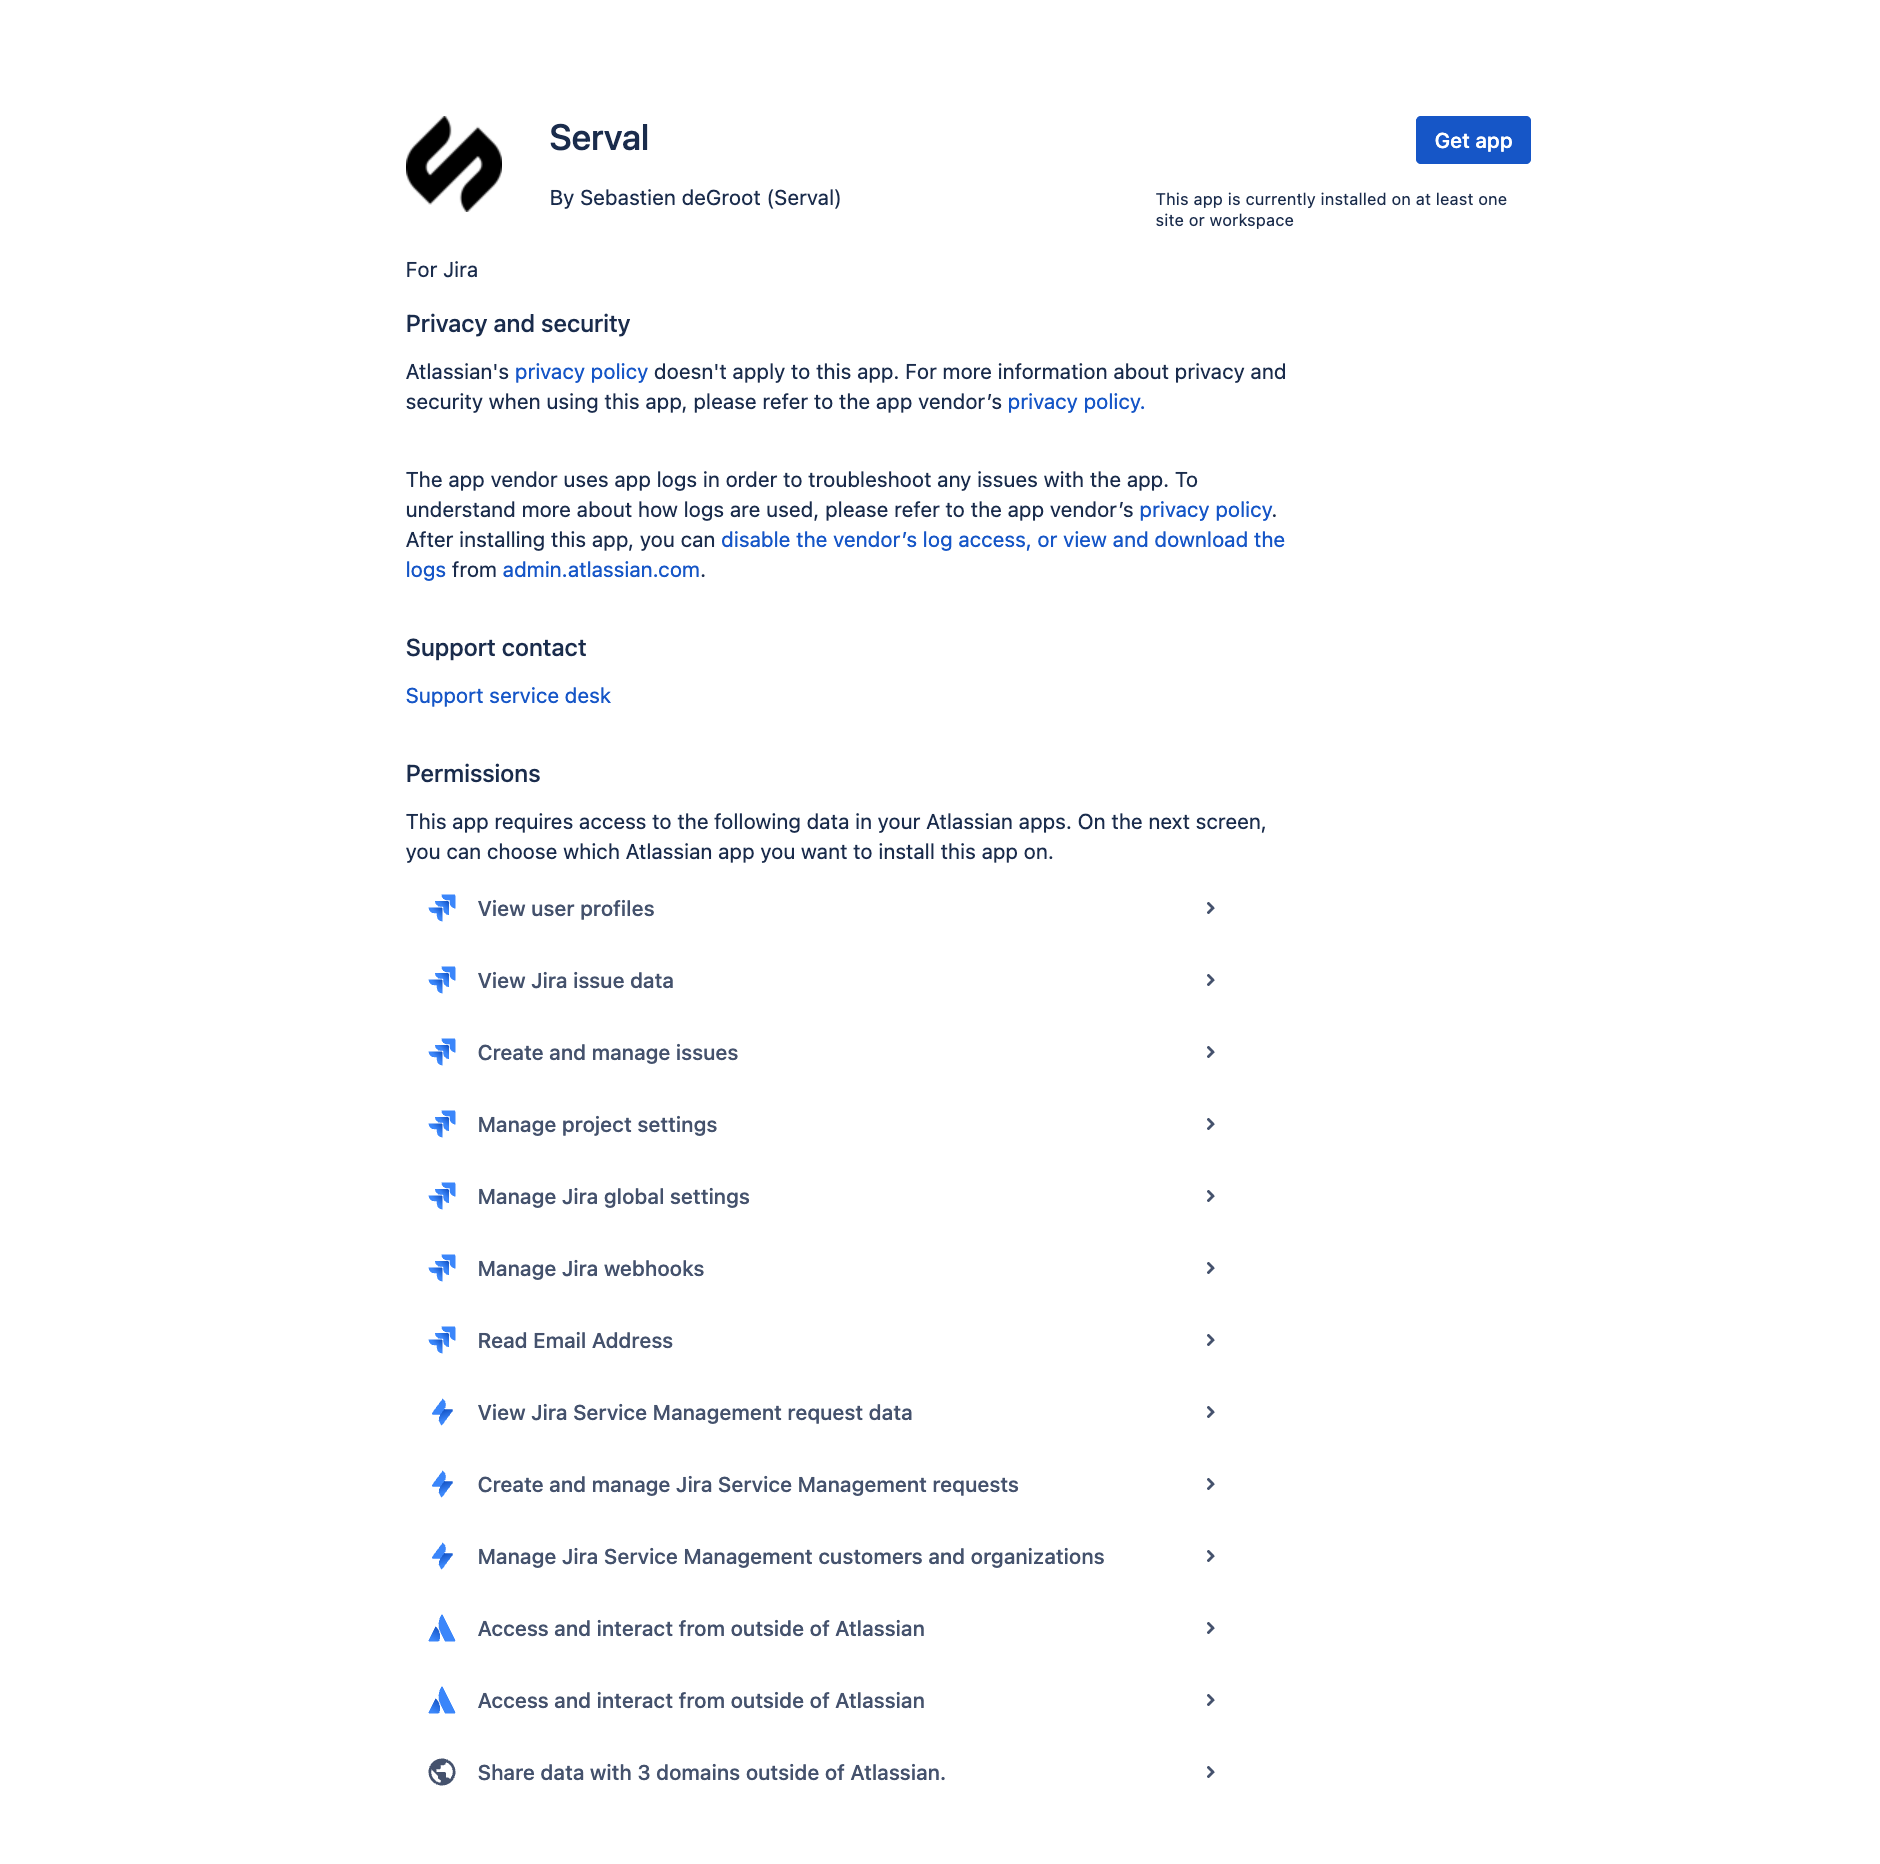
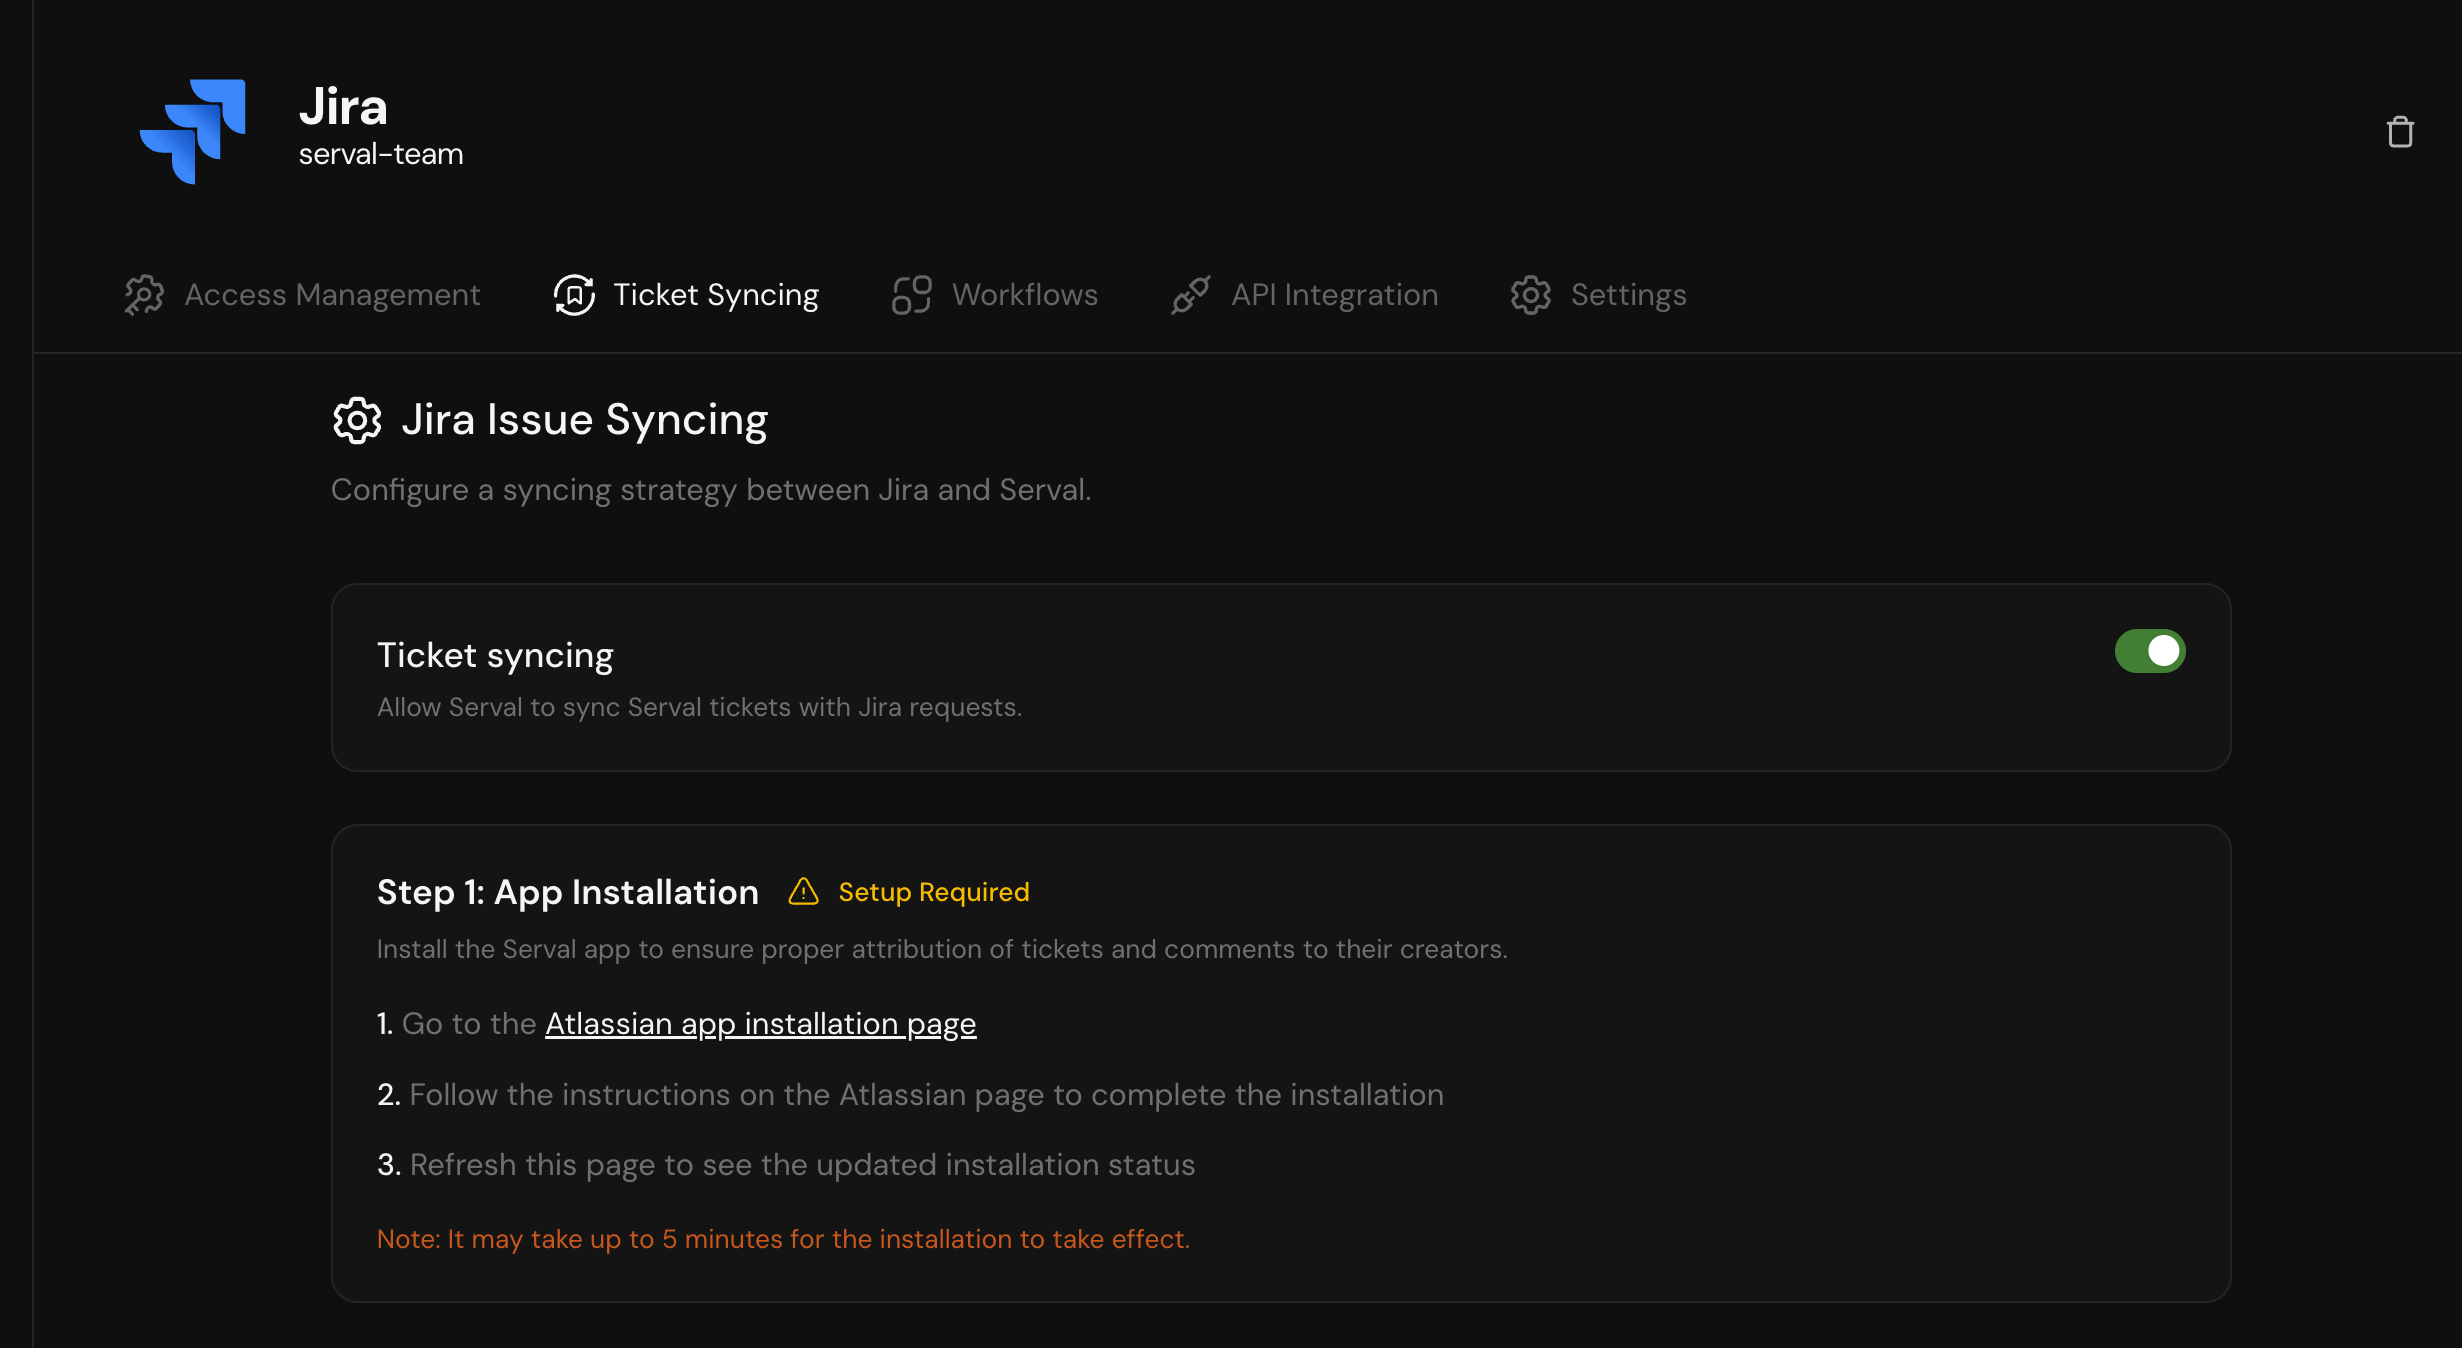
To enable ticket syncing, you need to install the Serval app in your Jira instance and configure the sync settings.Step 1: Install the Serval App
Open the Atlassian app installation page
Go to the Serval app installation page on the Atlassian Developer Console.

Complete the installation
Follow the instructions on the Atlassian page to install the Serval app on your Jira instance.
It may take up to 5 minutes for the installation to take effect. This delay is on Jira’s end.
Step 2-6: Configure Sync Settings
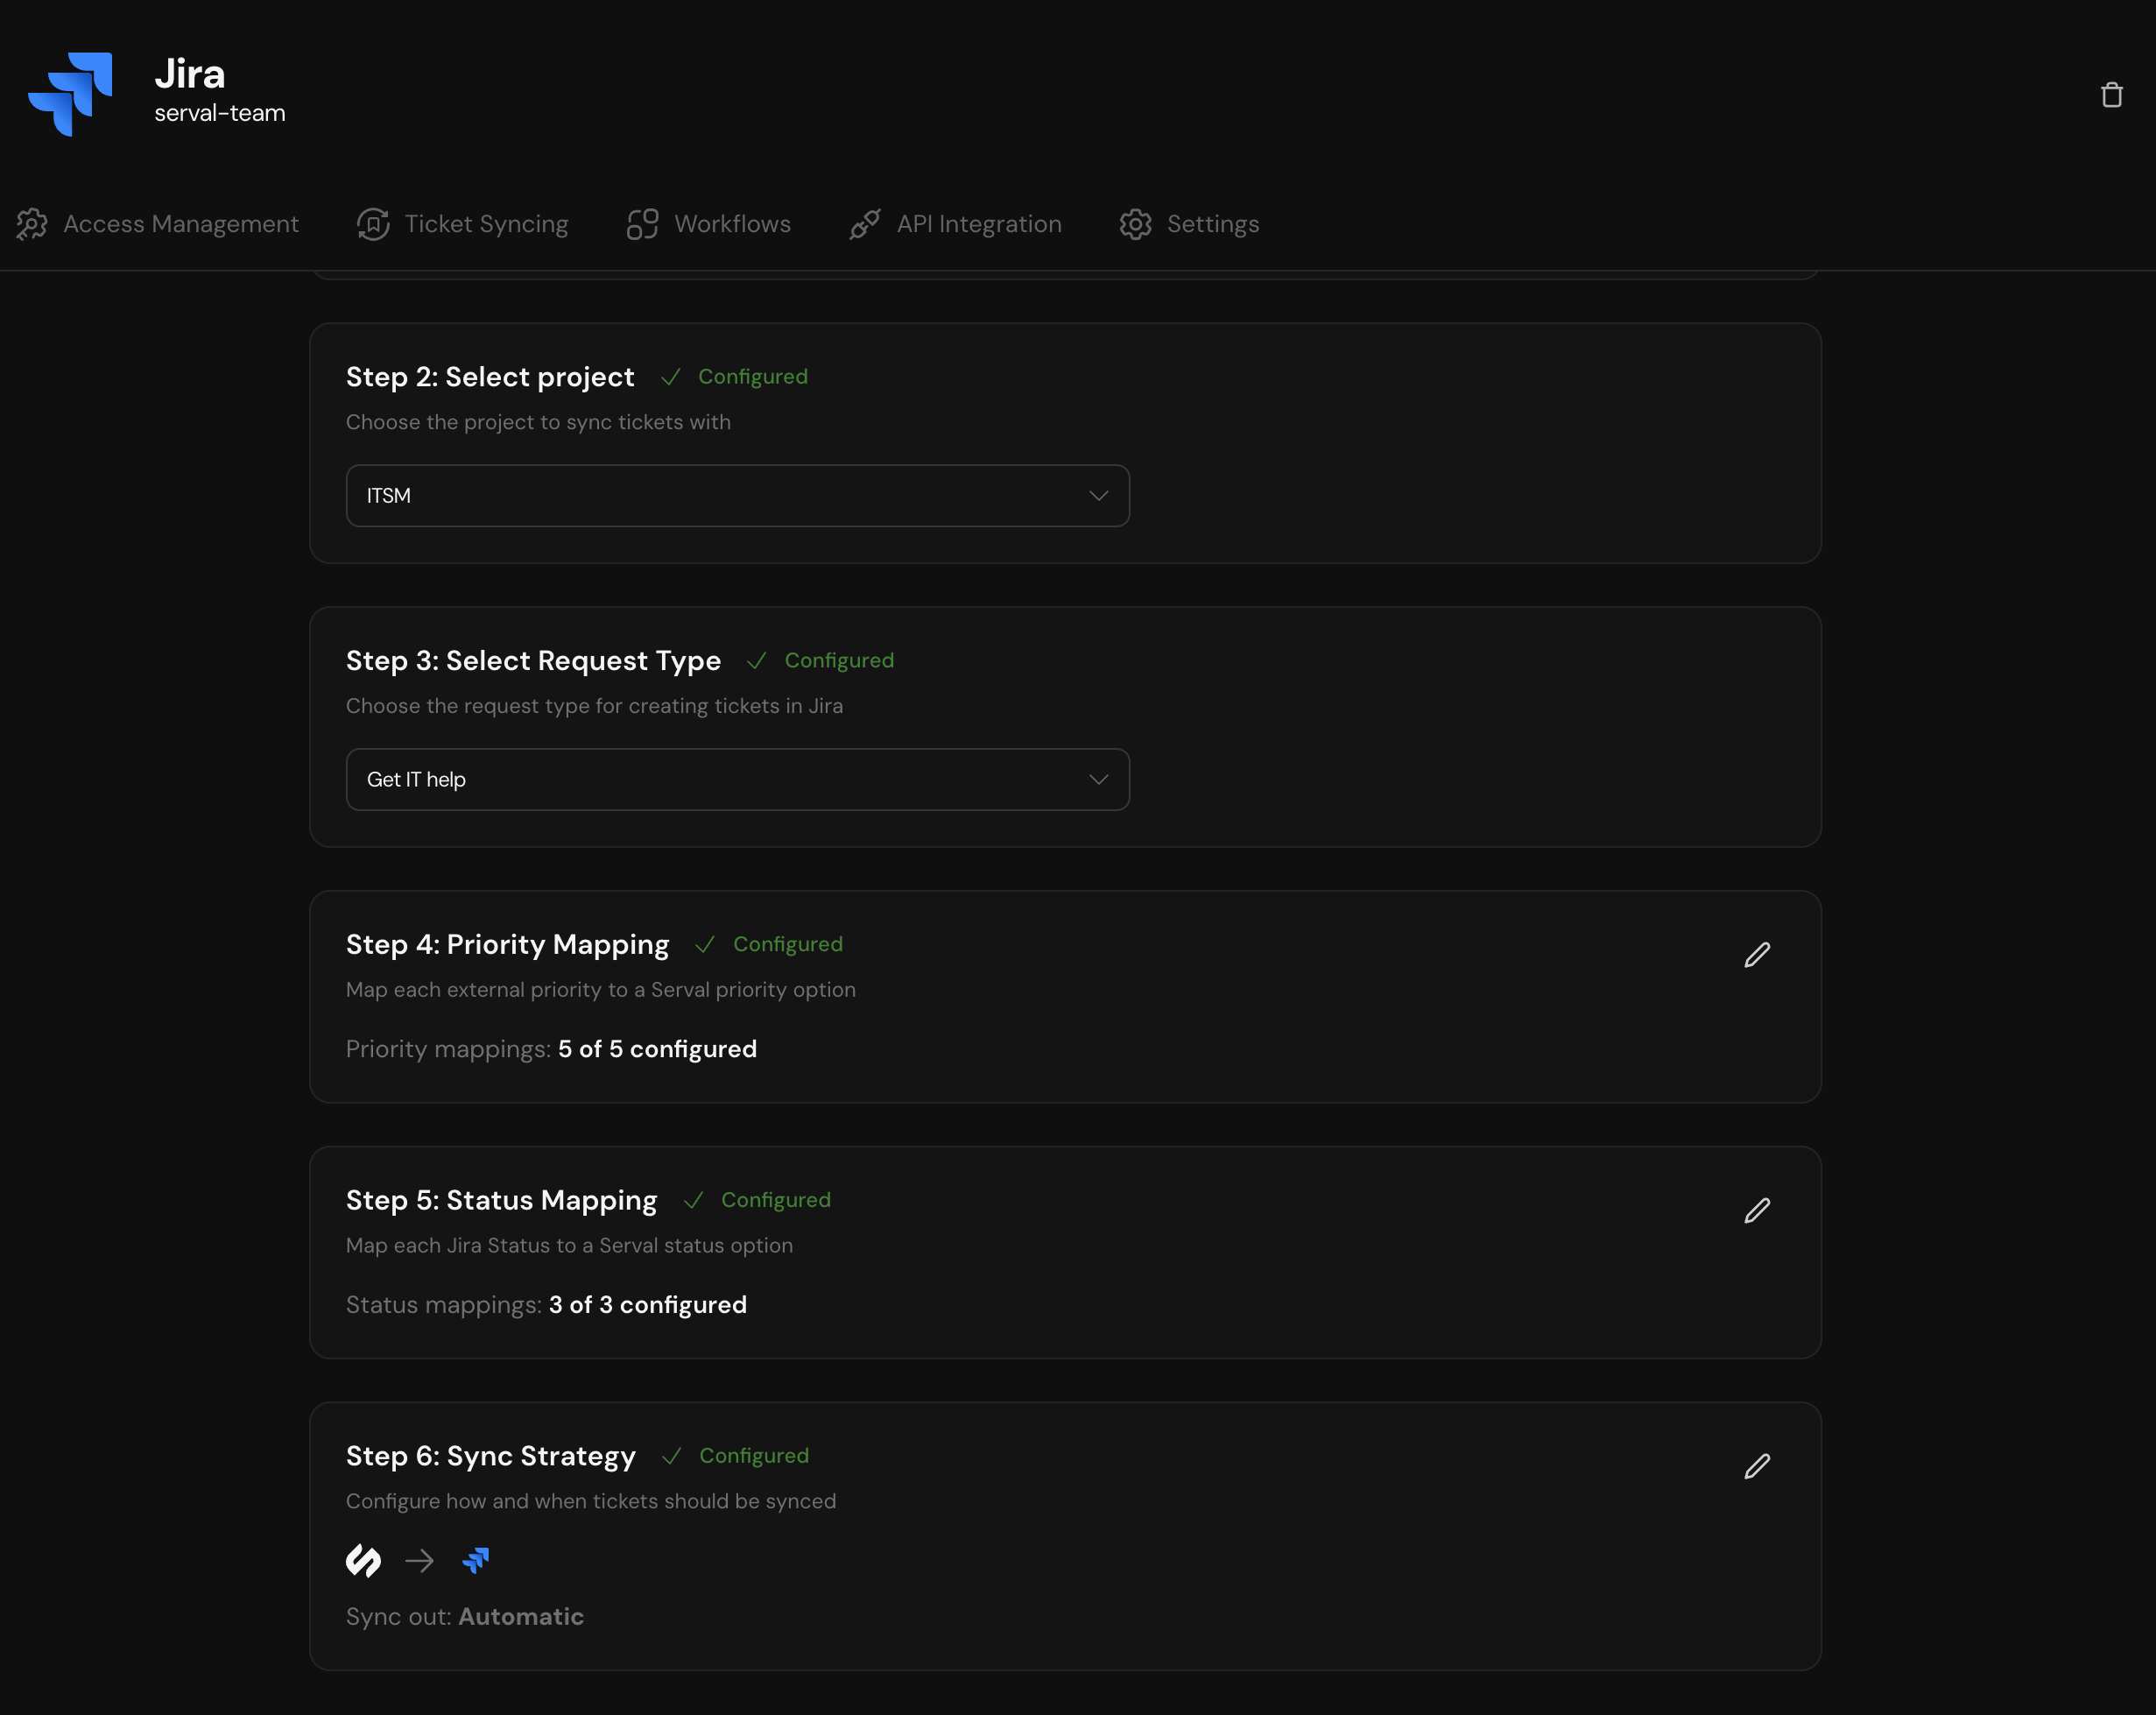
Once the app is installed, complete the remaining configuration steps in Serval:- Select Project - Choose the Jira project to sync tickets with
- Select Request Type - Choose the request type for creating tickets in Jira
- Priority Mapping - Map each Jira priority to a Serval priority option
- Status Mapping - Map each Jira status to a Serval status option
- Sync Strategy - Configure how and when tickets should be synced

Need help? Contact support@serval.com for assistance with your Jira integration.


