About Jamf Pro
Jamf Pro is a mobile-device-management (MDM) platform used to deploy, configure and secure macOS, iOS, iPadOS and tvOS devices. Connecting Jamf to Serval lets your IT team trigger remote commands, pull inventory or enforce compliance policies directly from chat.What the Jamf integration enables
| Capability | Description |
|---|---|
| Access Management | Create, update, and manage users and their permissions |
| Automation workflows | Streamline device provisioning and management |
Jamf configuration (in Jamf Pro)
1. Create or select an API role
- Log in at <yourdomain>.jamfcloud.com and navigate to the settings. From there, search for “API roles and clients”
.png?fit=max&auto=format&n=1gfWe52bLpPA-o-L&q=85&s=5d57438090bb9463928e65d7bbc3d97f)
- From the API Roles tab you may now click on the + New button in the top right to begin creating a new API Role. If you already have a role that you wish to use with Serval, you may skip the rest of this section.
.png?fit=max&auto=format&n=1gfWe52bLpPA-o-L&q=85&s=5c5d0a19f345d46be154affcb69a8dce)
- Create the API Role by choosing a name and selecting the privileges you wish Serval to have and hit Save.
.png?fit=max&auto=format&n=1gfWe52bLpPA-o-L&q=85&s=b8cbeeeb1b9bd6d4fccdd06d7086ef7b)
2. Create an API Client
- From the same settings page, navigate to the API Clients tab and click the + New button once again.
.png?fit=max&auto=format&n=1gfWe52bLpPA-o-L&q=85&s=3763904b7f57063ca1b2a5459413a2c3)
- From here, begin filling out the details: For the name, we recommend something like
Serval Integration. Make sure to include the proper role(s) and set a custom Access token lifetime if you wish to do so. Confirm that the API client is enabled and then hit save.- Note: For more details on how this integration works from a security perspective, check out this doc: Jamf Integration Security Details
.png?fit=max&auto=format&n=1gfWe52bLpPA-o-L&q=85&s=f5548f1bf0013af45147c4163b4dbe61)
-
With the client created, next you will need to hit the Generate client secret button to generate the client credentials. Be sure to keep the client ID and the client secret on hand for the next section.
.png?fit=max&auto=format&n=1gfWe52bLpPA-o-L&q=85&s=59173b612c5629cef92a4a16245c26f8)
3. Configure the integration in Serval
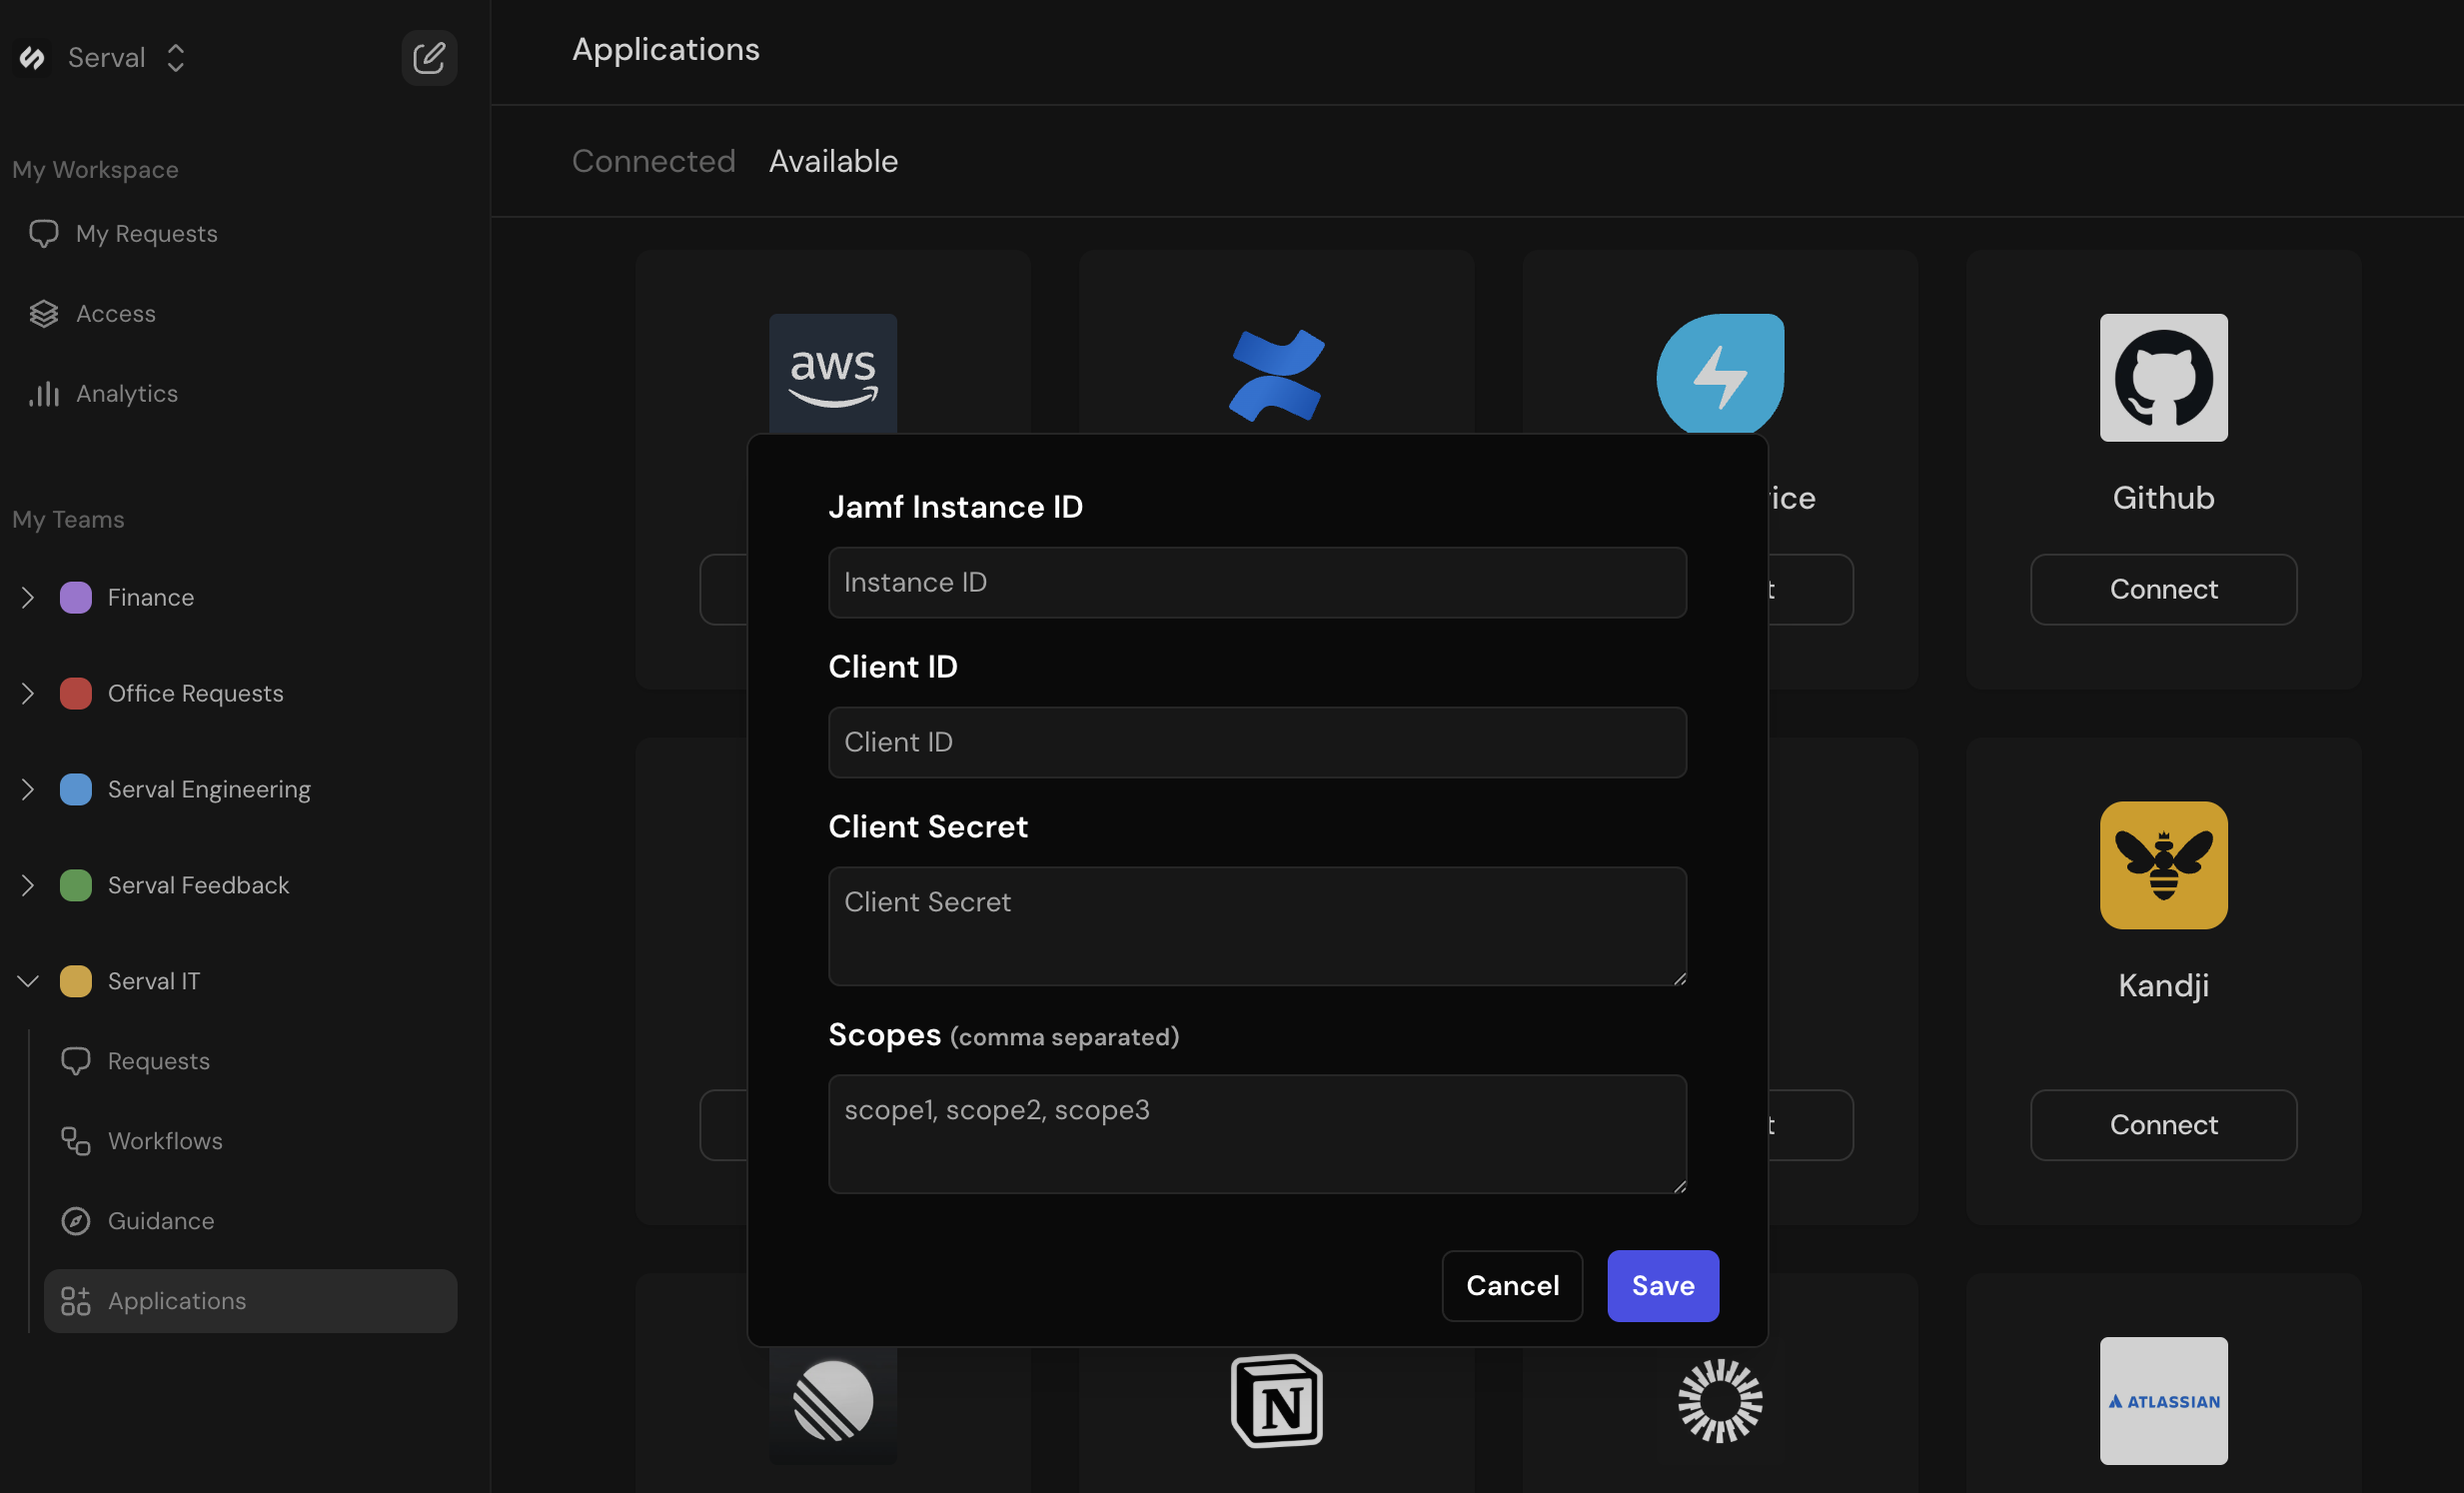
- In Serval, navigate to Applications and then the Available tab. Find the Jamf integration and press Connect.

- The Service Instance ID should be the full domain of your Jamf Cloud instance. For example, if your Jamf Cloud URL is
https://serval.jamfcloud.com, you should enterserval.jamfcloud.comhere. - Copy over the client ID and client secret from the previous section.
- Leave the scopes blank and hit
Save. That’s it! Jamf should now be connected.
Serval Configuration
- In Serval go to Apps → Available → Jamf → Connect.
- Outlined in step 3.3, enter your Service Instance ID (your Jamf Cloud domain, e.g.,
serval.jamfcloud.com), Client ID and Client Secret from the API Client you generated above. - Click Save.

